
The other day, I found myself reminiscing about the summers of my childhood, spent in the backyard with friends, laughing and indulging in cold treats. Making DIY ice cream was a summer tradition that brought joy and deliciousness to those sun-soaked afternoons. As I sifted through nostalgic memories, I felt a wave of inspiration to recreate that simple pleasure at home. There’s something magical about crafting your own ice cream from scratch; it’s an opportunity to play with flavors, enjoy family time, and, most importantly, partake in a refreshing treat without the hassle of store-bought varieties.
What is DIY Ice Cream
DIY ice cream is a fun and engaging way to create your own frozen dessert at home. It’s all about mixing a few high-quality ingredients and letting a churner do the work for you. This method allows for personal experimentation, whether you’re looking for classic flavors or want to venture into unique combinations. The beauty lies in having complete control over the ingredients, from the sweetness level to the flavor profiles you choose. Plus, DIY ice cream opens the door to healthier versions, accommodating dietary preferences while still delivering a delightful taste.
Why You’ll Love This DIY Ice Cream
Making your own ice cream comes with numerous perks. Here are a few reasons why it’s worth trying:
- Quick and simple to prepare: With just a handful of ingredients and minimal effort, you can whip up a delightful treat.
- Family-friendly meal: Involving kids or friends in the process makes it a perfect bonding activity.
- Great for beginners: No professional skills are required. Just follow the steps, and you’ll achieve creamy, delightful treats.
- Customizable flavors: Choose your favorite ingredients and experiment with various combinations to create a personalized dessert.
- No preservatives or artificial additives: You can enjoy your ice cream knowing exactly what’s in it, making it a healthier choice.
Ingredients
To make a basic version of DIY ice cream, gather the following ingredients:
- 2 cups heavy cream
- 1 cup milk
- 3/4 cup sugar
- 1 tablespoon vanilla extract
- A pinch of salt
These straightforward components create a rich base that can be customized with your choice of flavors or mix-ins.
Step-by-Step Instructions for DIY Ice Cream
Creating your own ice cream is easier than you might think. Here are the steps to achieve a creamy, delicious treat:
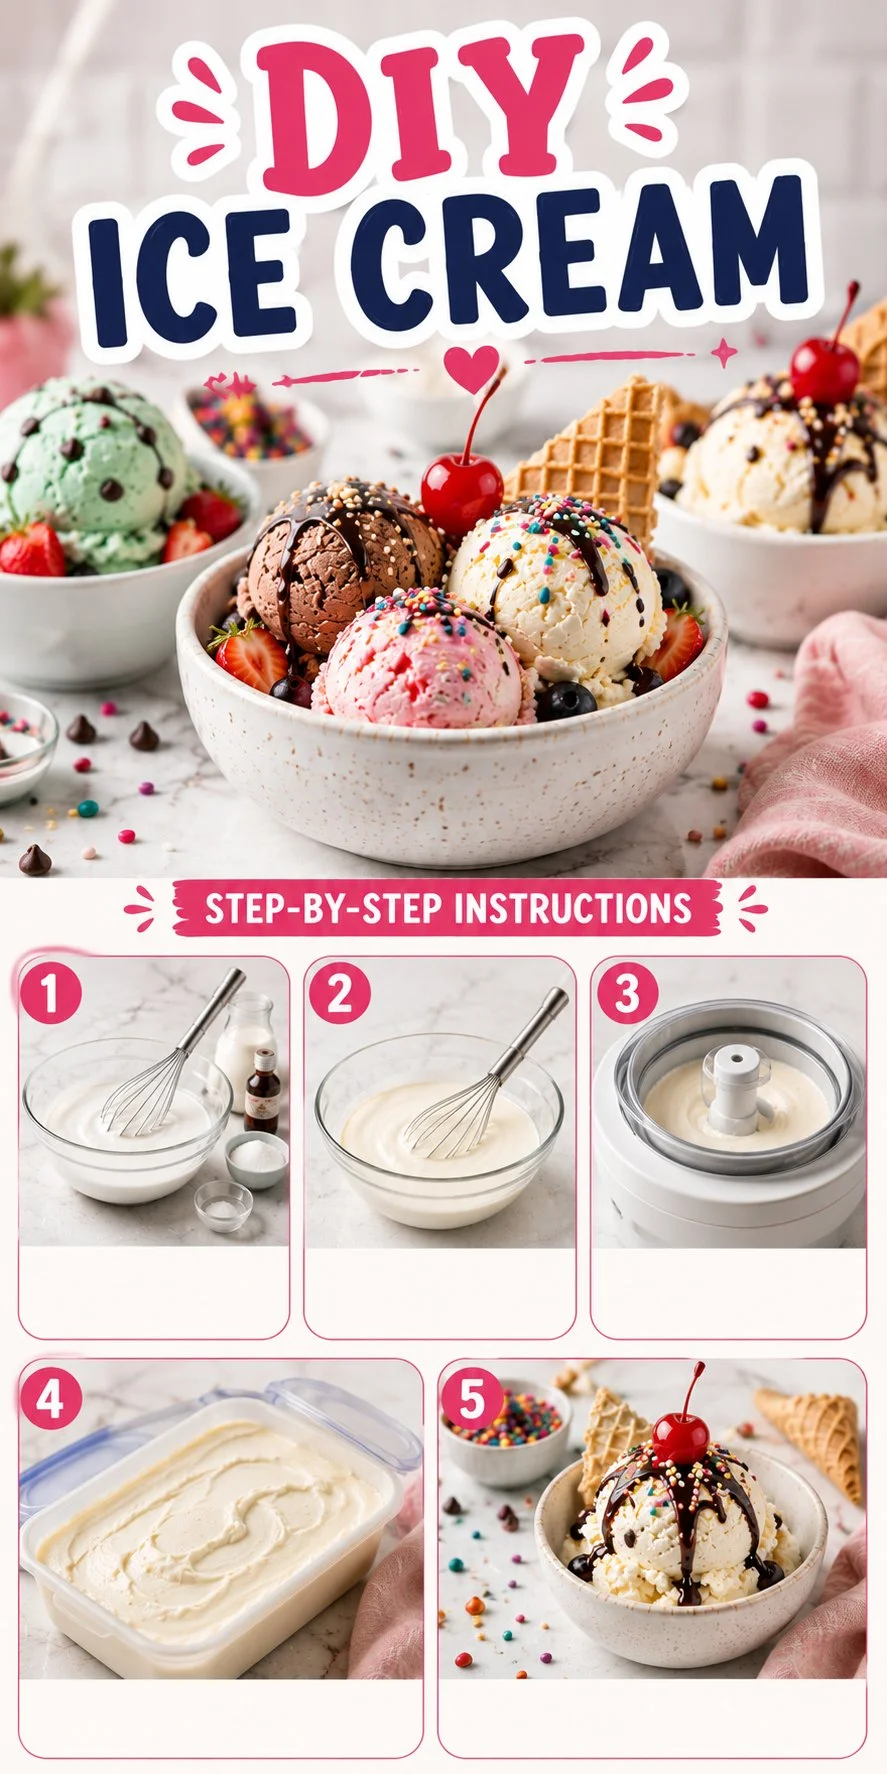
- In a mixing bowl, combine the heavy cream, milk, sugar, vanilla extract, and a pinch of salt.
- Whisk the mixture until the sugar is fully dissolved. This will ensure an even consistency once frozen.
- Once mixed, pour the mixture into an ice cream maker. Churn according to the manufacturer’s instructions until it reaches a soft-serve consistency.
- For a firmer texture, transfer the churning mixture to an airtight container and freeze for at least 4 hours or until solid.
- Scoop your freshly made ice cream into bowls or cones and enjoy!
This simple process will fill your kitchen with delightful aromas, and you’ll find the payoff well worth the effort.
Pro Tips and Variations
Here are a few tips and variations to take your DIY ice cream to the next level:
- Experiment with flavors: Substitute vanilla extract with almond, mint, or even chocolate extract for different tastes.
- Add mix-ins: Chopped fruits, nuts, or chocolate chips can elevate your ice cream to a whole new level.
- Try alternative ingredients: For a lighter version, use half-and-half instead of heavy cream, or non-dairy milk for a vegan option.
- Stir in a swirl: Incorporate sauces like caramel or fudge during the last few minutes of churning for a tempting finish.
- Use ice cream molds: For fun shapes, pour the mixture into molds and freeze for unique ice cream pops.
By playing around with these variations, you’ll find the combinations that work best for you and your loved ones.
How to Serve DIY Ice Cream
Serving your homemade ice cream can be just as enjoyable as making it. Here are a few delightful serving suggestions:
- Scoop into cones: Classic and fun, serve your ice cream in waffle or sugar cones for a traditional treat.
- Sundaes: Top with whipped cream, fresh fruit, nuts, and a drizzle of chocolate or caramel sauce for a decadent experience.
- Milkshakes: Blend a scoop of your favorite ice cream with milk for a creamy milkshake that’s sure to refresh.
- Parfaits: Layer ice cream with granola and fresh fruits for a delightful breakfast treat.
- Ice Cream Sandwiches: Sandwich your favorite flavor between two cookies for a delicious handheld delight.
Each serving method offers a different way to enjoy your delicious creation, making it perfect for any occasion.
How to Store DIY Ice Cream
If you happen to have leftovers (which is unlikely), storing your ice cream properly will ensure it stays fresh. Here’s how:
- Use an airtight container: This prevents ice crystals from forming, keeping your ice cream smooth.
- Store in the freezer: A consistent freezing temperature is crucial; aim for the back of the freezer where it’s coldest.
- Best consumed within one month: For optimum flavor and texture, try to enjoy your homemade ice cream within a month of making it.
- Reheating: If your ice cream gets too hard, let it sit at room temperature for about 10-15 minutes before scooping to soften it slightly.
Proper storage will help maintain the creamy texture and exceptional flavor of your homemade treat.
Nutrition Information
While enjoying DIY ice cream in moderation is essential, being aware of nutritional content can be helpful. A standard serving of the basic recipe (approximately half a cup) may contain around:
- Calories: 300
- Carbohydrates: 30g
- Fat: 20g
- Protein: 4g
- Sugar: 22g
These figures can vary based on any additional ingredients or variations you choose to include. Always check serving sizes if you’re keeping track of nutritional values.
FAQs about DIY Ice Cream
Can I make ice cream without an ice cream maker?
Yes, you can! Simply mix your ingredients and pour them into a shallow dish. Stir every 30 minutes until it reaches your desired consistency.
How long does it take to churn ice cream?
Typically, it takes about 20-30 minutes in an ice cream maker to achieve a soft-serve texture.
Can I use low-fat milk instead of heavy cream?
While you can use low-fat milk, the ice cream will be less creamy. For the best results, stick with heavy cream or half-and-half.
What are some popular mix-ins for ice cream?
Some favorite mix-ins include chocolate chips, crushed cookies, sprinkles, and fresh fruit like strawberries or mangoes. Get creative with your favorites!
Conclusion
Making your own DIY ice cream is not just a delightful process; it is a rewarding experience that brings joy and creativity into the kitchen. Whether you enjoy a classic vanilla or experiment with unique flavors, the possibilities are endless. Try this simple recipe, and you’ll discover just how satisfying it is to create something so delicious at home. Join in the fun, and don’t forget to share your experience with friends and family!