
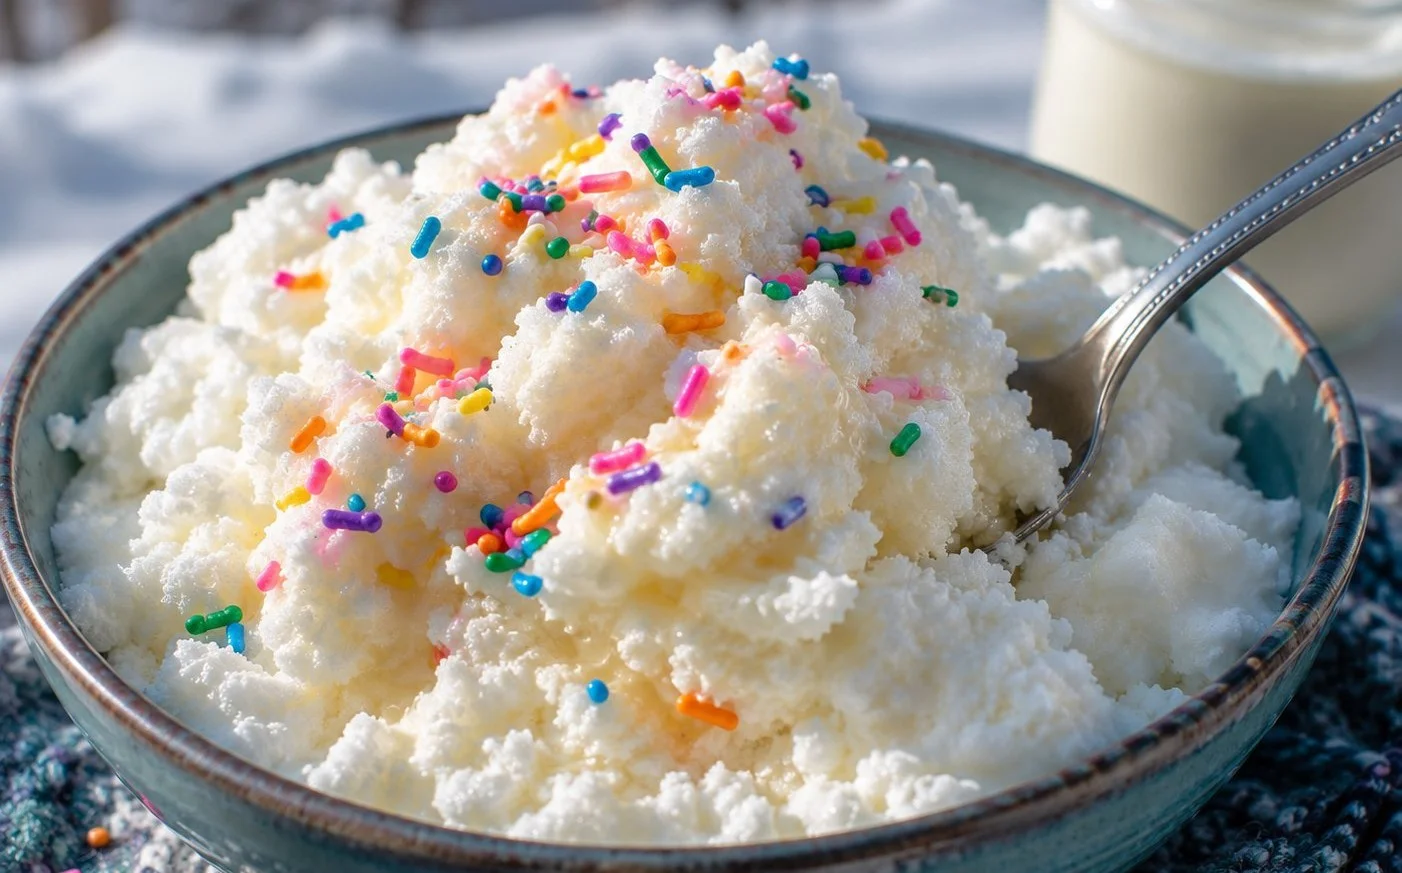
There’s something incredibly magical about the first snow of the season. I remember one winter as a child, bundled up in my puffy coat, eagerly rushing outside to create snowmen and catch falling flakes on my tongue. But nothing compared to the wonder of making snow ice cream. As I scooped fresh, soft snow into a big bowl, my heart raced with excitement. My family would gather around to partake in this simple treat, and the wonderful combination of sweetened milk and fluffy snow would bring pure joy. Snow ice cream is an unforgettable winter delight that requires little more than a few basic ingredients and a bit of imagination, making it a wonderful way to celebrate the change of season.
What is Snow Ice Cream
Snow ice cream is a delightful dessert made using fresh fallen snow. This simple and fun treat combines snow with a mixture of milk, sugar, and flavorings like vanilla to create a creamy and fluffy dessert. Traditionally, it’s prepared in winter when snow is abundant and pristine, making it perfect for families eager to enjoy the outdoors. This dessert not only connects us to nature but also evokes nostalgia and warmth on chilly days. By using clean, fresh snow, you can craft a delicious and unique dessert that feels whimsically indulgent while embracing the beauty of winter.
Why You’ll Love This Snow Ice Cream:
- Quick and Simple to Prepare: Snow ice cream can be made in just a few minutes, requiring minimal preparation and ingredients.
- Family-Friendly Treat: This recipe is a fun activity that involves everyone, from the youngest to the oldest family members, making it a memorable experience.
- Creative Customization: The base recipe is easily modified with different flavors or toppings, so each batch can be uniquely your own.
- Perfect for Celebrating Winter: Making snow ice cream is a wonderful way to embrace the season and enjoy time outdoors.
Ingredients
To prepare a delicious batch of snow ice cream, gather the following ingredients:
- Fresh snow (enough to fill a large bowl)
- 1 cup of milk
- 1/2 cup of sugar (adjust according to taste)
- 1 teaspoon of vanilla extract
Step-by-Step Instructions for Snow Ice Cream
Collect Fresh Snow: First, head outside with a large bowl and collect fresh, clean snow. Make sure the snow is free from any debris or contamination.
Prepare the Milk Mixture: In a separate bowl, mix together the milk, sugar, and vanilla extract. Stir until the sugar is completely dissolved, creating a smooth and sweet mixture.
Combine the Ingredients: Pour the milk mixture over the gathered snow. Stir gently with a spoon or spatula until the snow is evenly coated and the mixture reaches a creamy, yet fluffy consistency.
Serve Immediately: Once combined, serve your homemade snow ice cream right away. The texture is best enjoyed fresh, as it can melt quickly.
Pro Tips and Variations
To elevate your snow ice cream experience, consider the following tips and variations:
- Flavor Additions: Spice things up by adding cocoa powder for chocolate snow ice cream or using flavored extracts like almond or peppermint instead of vanilla.
- Toppings: Get creative with toppings! Consider sprinkles, shaved chocolate, or fruit like berries and bananas for added flavor and fun.
- Dairy Alternatives: If you’re lactose intolerant or prefer a vegan option, substitute regular milk with almond milk, coconut milk, or any plant-based milk.
- Adjust Sweetness: Depending on your taste preference, you might want to adjust the amount of sugar for a sweeter or less sweet version.
How to Serve Snow Ice Cream
Snow ice cream can be served in small bowls as a quick treat on its own. Consider these serving ideas:
- As a Dessert: Serve it after a hearty winter meal for a light, refreshing finish.
- With Hot Beverages: Pair it with hot chocolate or warm cider for a cozy experience on cold days.
- Toppings Bar: Set up a toppings station with various options for everyone to personalize their snow ice cream.
How to Store Snow Ice Cream
Storing snow ice cream can be tricky since it is best enjoyed fresh. However, if you need to save some leftovers:
- Refrigeration: Keep any leftover snow ice cream in an airtight container in the refrigerator for a few hours. However, it may lose its fluffy texture as it sits.
- Freezing: If you want to store it longer, you can freeze the snow ice cream in a container, but it may change in texture once thawed.
To enjoy again, gently scoop it out of the freezer and let it sit for a few minutes to soften before serving.
Nutrition Information
While this section provides a general overview, specific nutritional content will vary based on exact ingredients and proportions used.
A rough estimate for one serving of snow ice cream might contain:
- Calories: Approximately 150-200
- Protein: 4g
- Carbohydrates: 25g
- Fat: 4g (depending on the milk used)
The nutrient values will be influenced by customization and portion sizes, so consider this a general guide.
FAQs About Snow Ice Cream
Q: Is it safe to eat snow?
A: Always use clean, freshly fallen snow for making snow ice cream. Avoid snow collected after it has touched the ground or during pollution.
Q: Can you make snow ice cream with any type of snow?
A: Fresh, fluffy snow is ideal. Avoid icy, hard snow, as it won’t create the desired creamy texture.
Q: What if I can’t find fresh snow?
A: If fresh snow isn’t available, consider using shaved ice as a base, mixing in the milk mixture until creamy.
Q: How long can you keep snow ice cream?
A: Snow ice cream is best enjoyed fresh, but leftovers can be stored in the refrigerator for a few hours or in the freezer for longer but will lose texture.
Conclusion
Snow ice cream captures the essence of winter with its simplicity and the joy it brings to family gatherings. It’s a delightful way to make memories while celebrating the season. Try making this snow ice cream, and don’t forget to share your experience and favorite variations with friends and family. Embrace the chilly weather and this delightful treat; you won’t regret it!